From the Artist
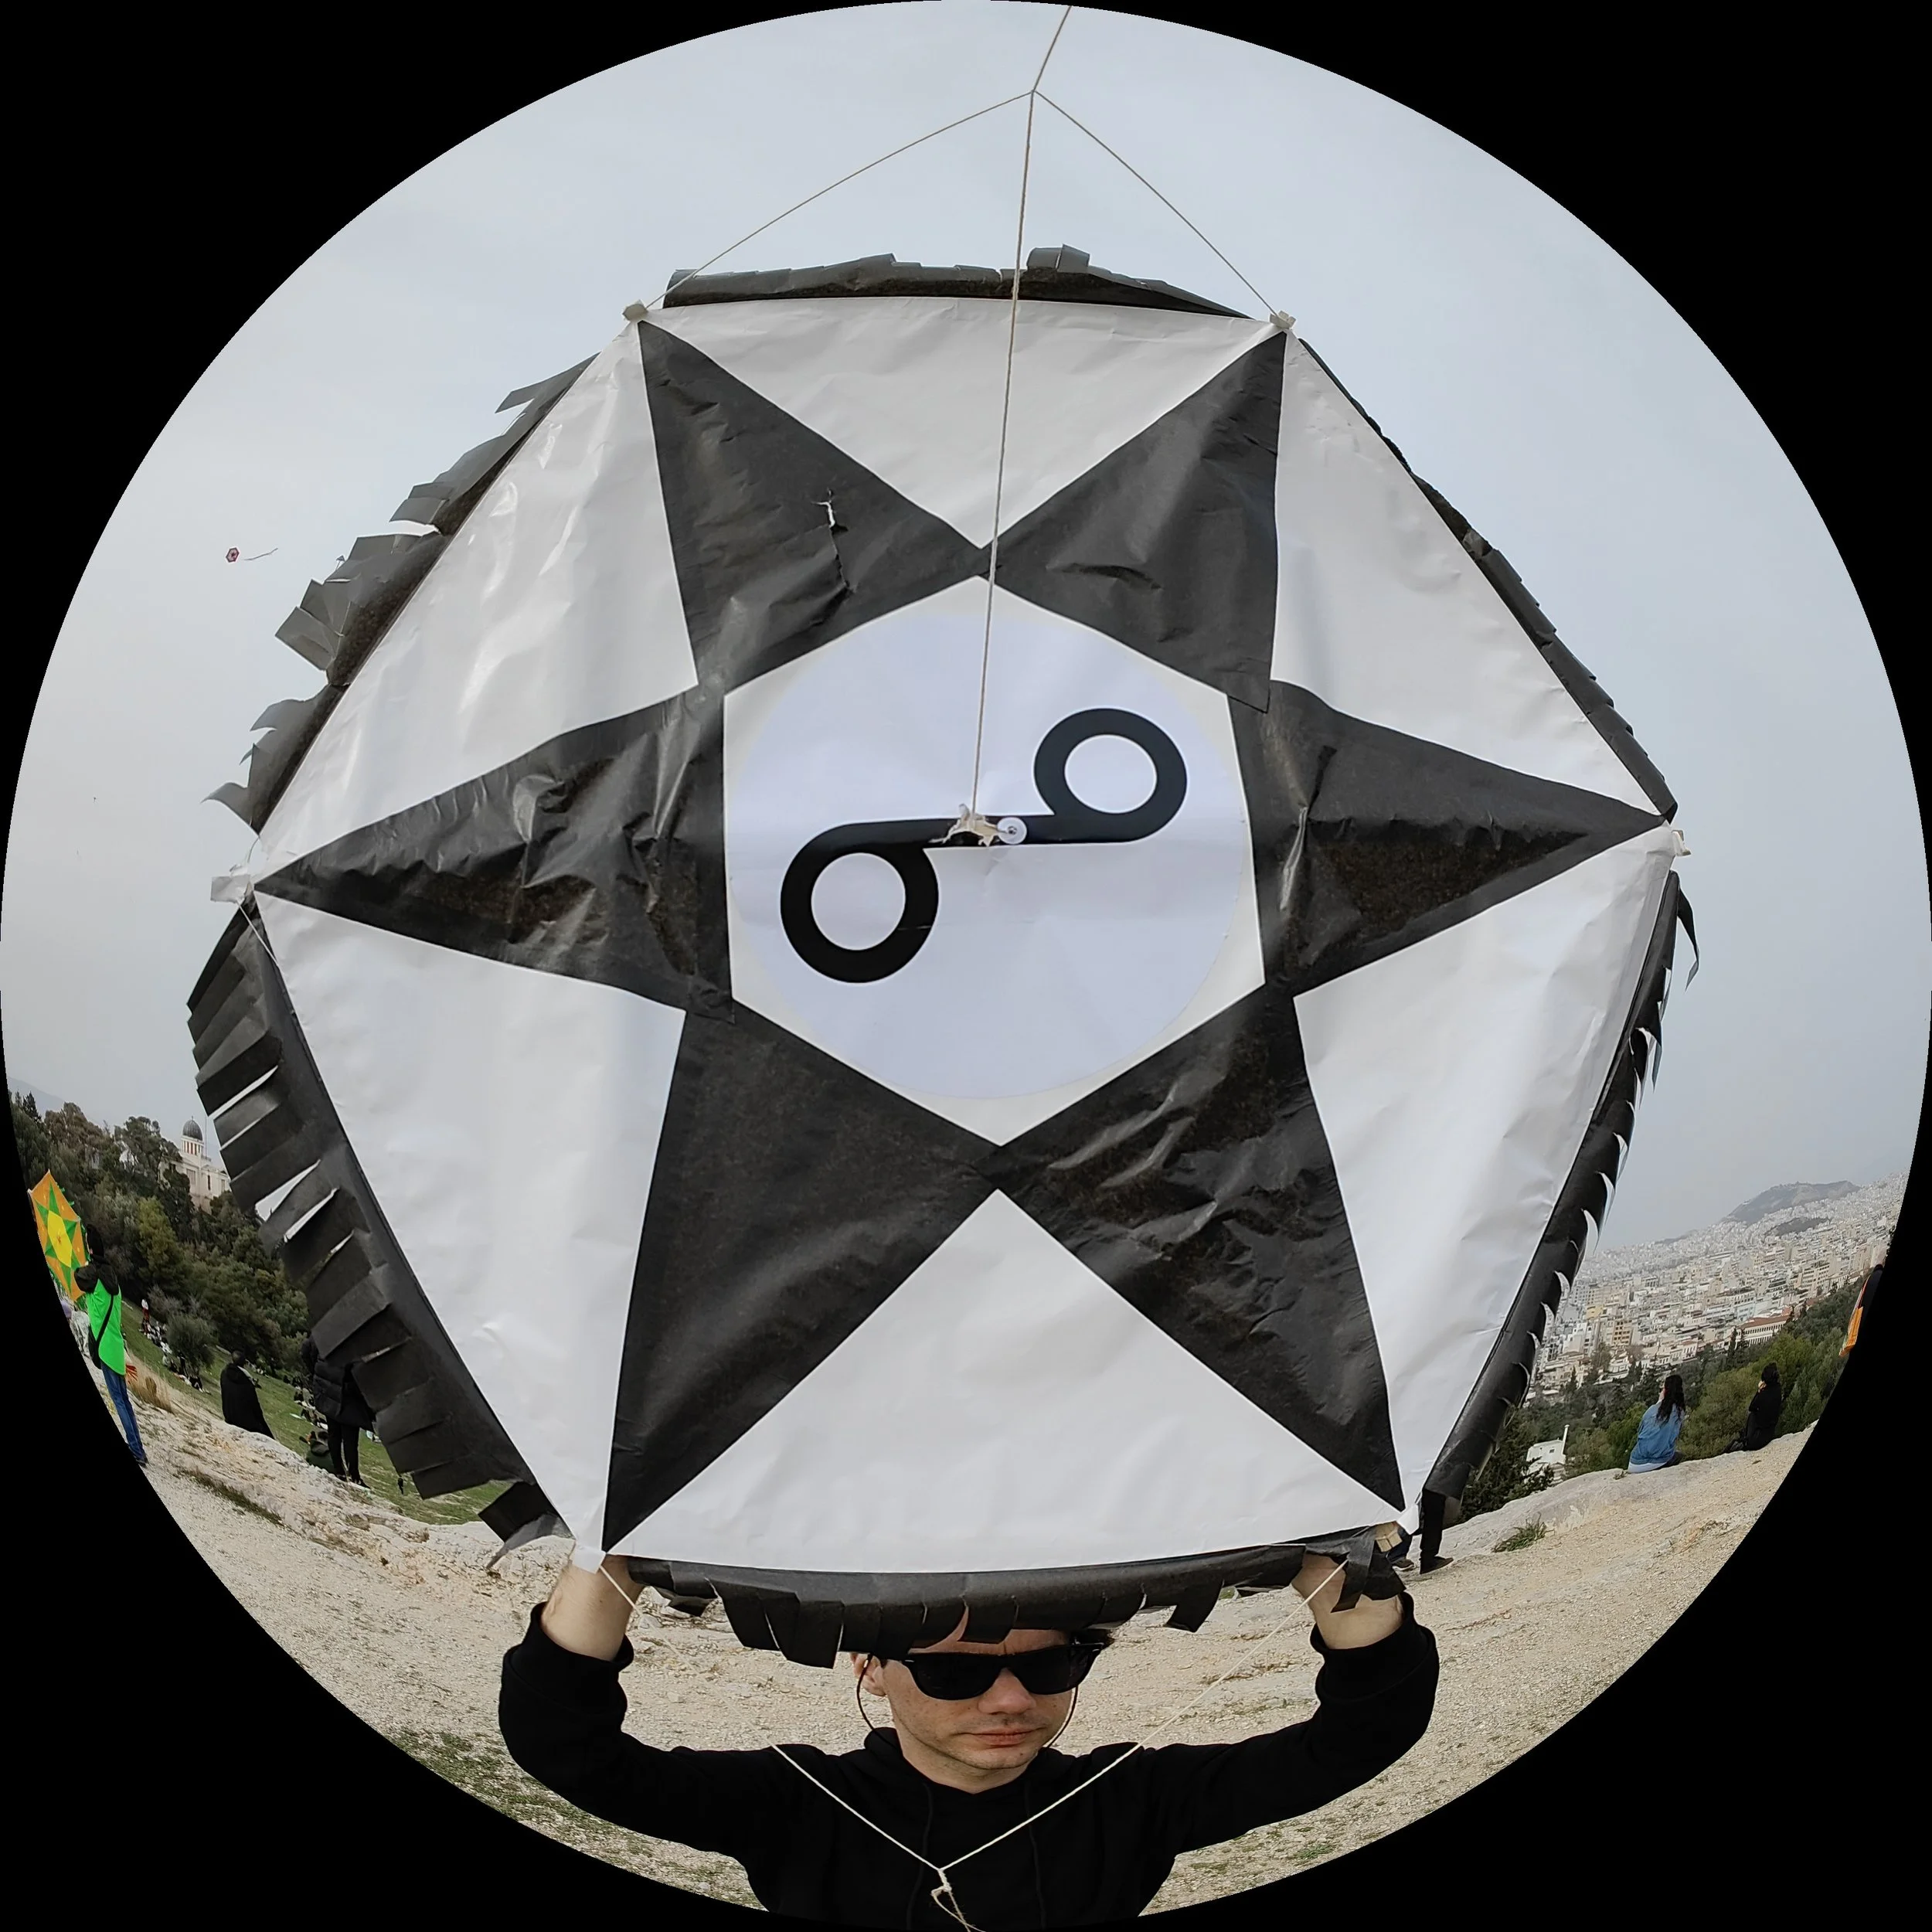
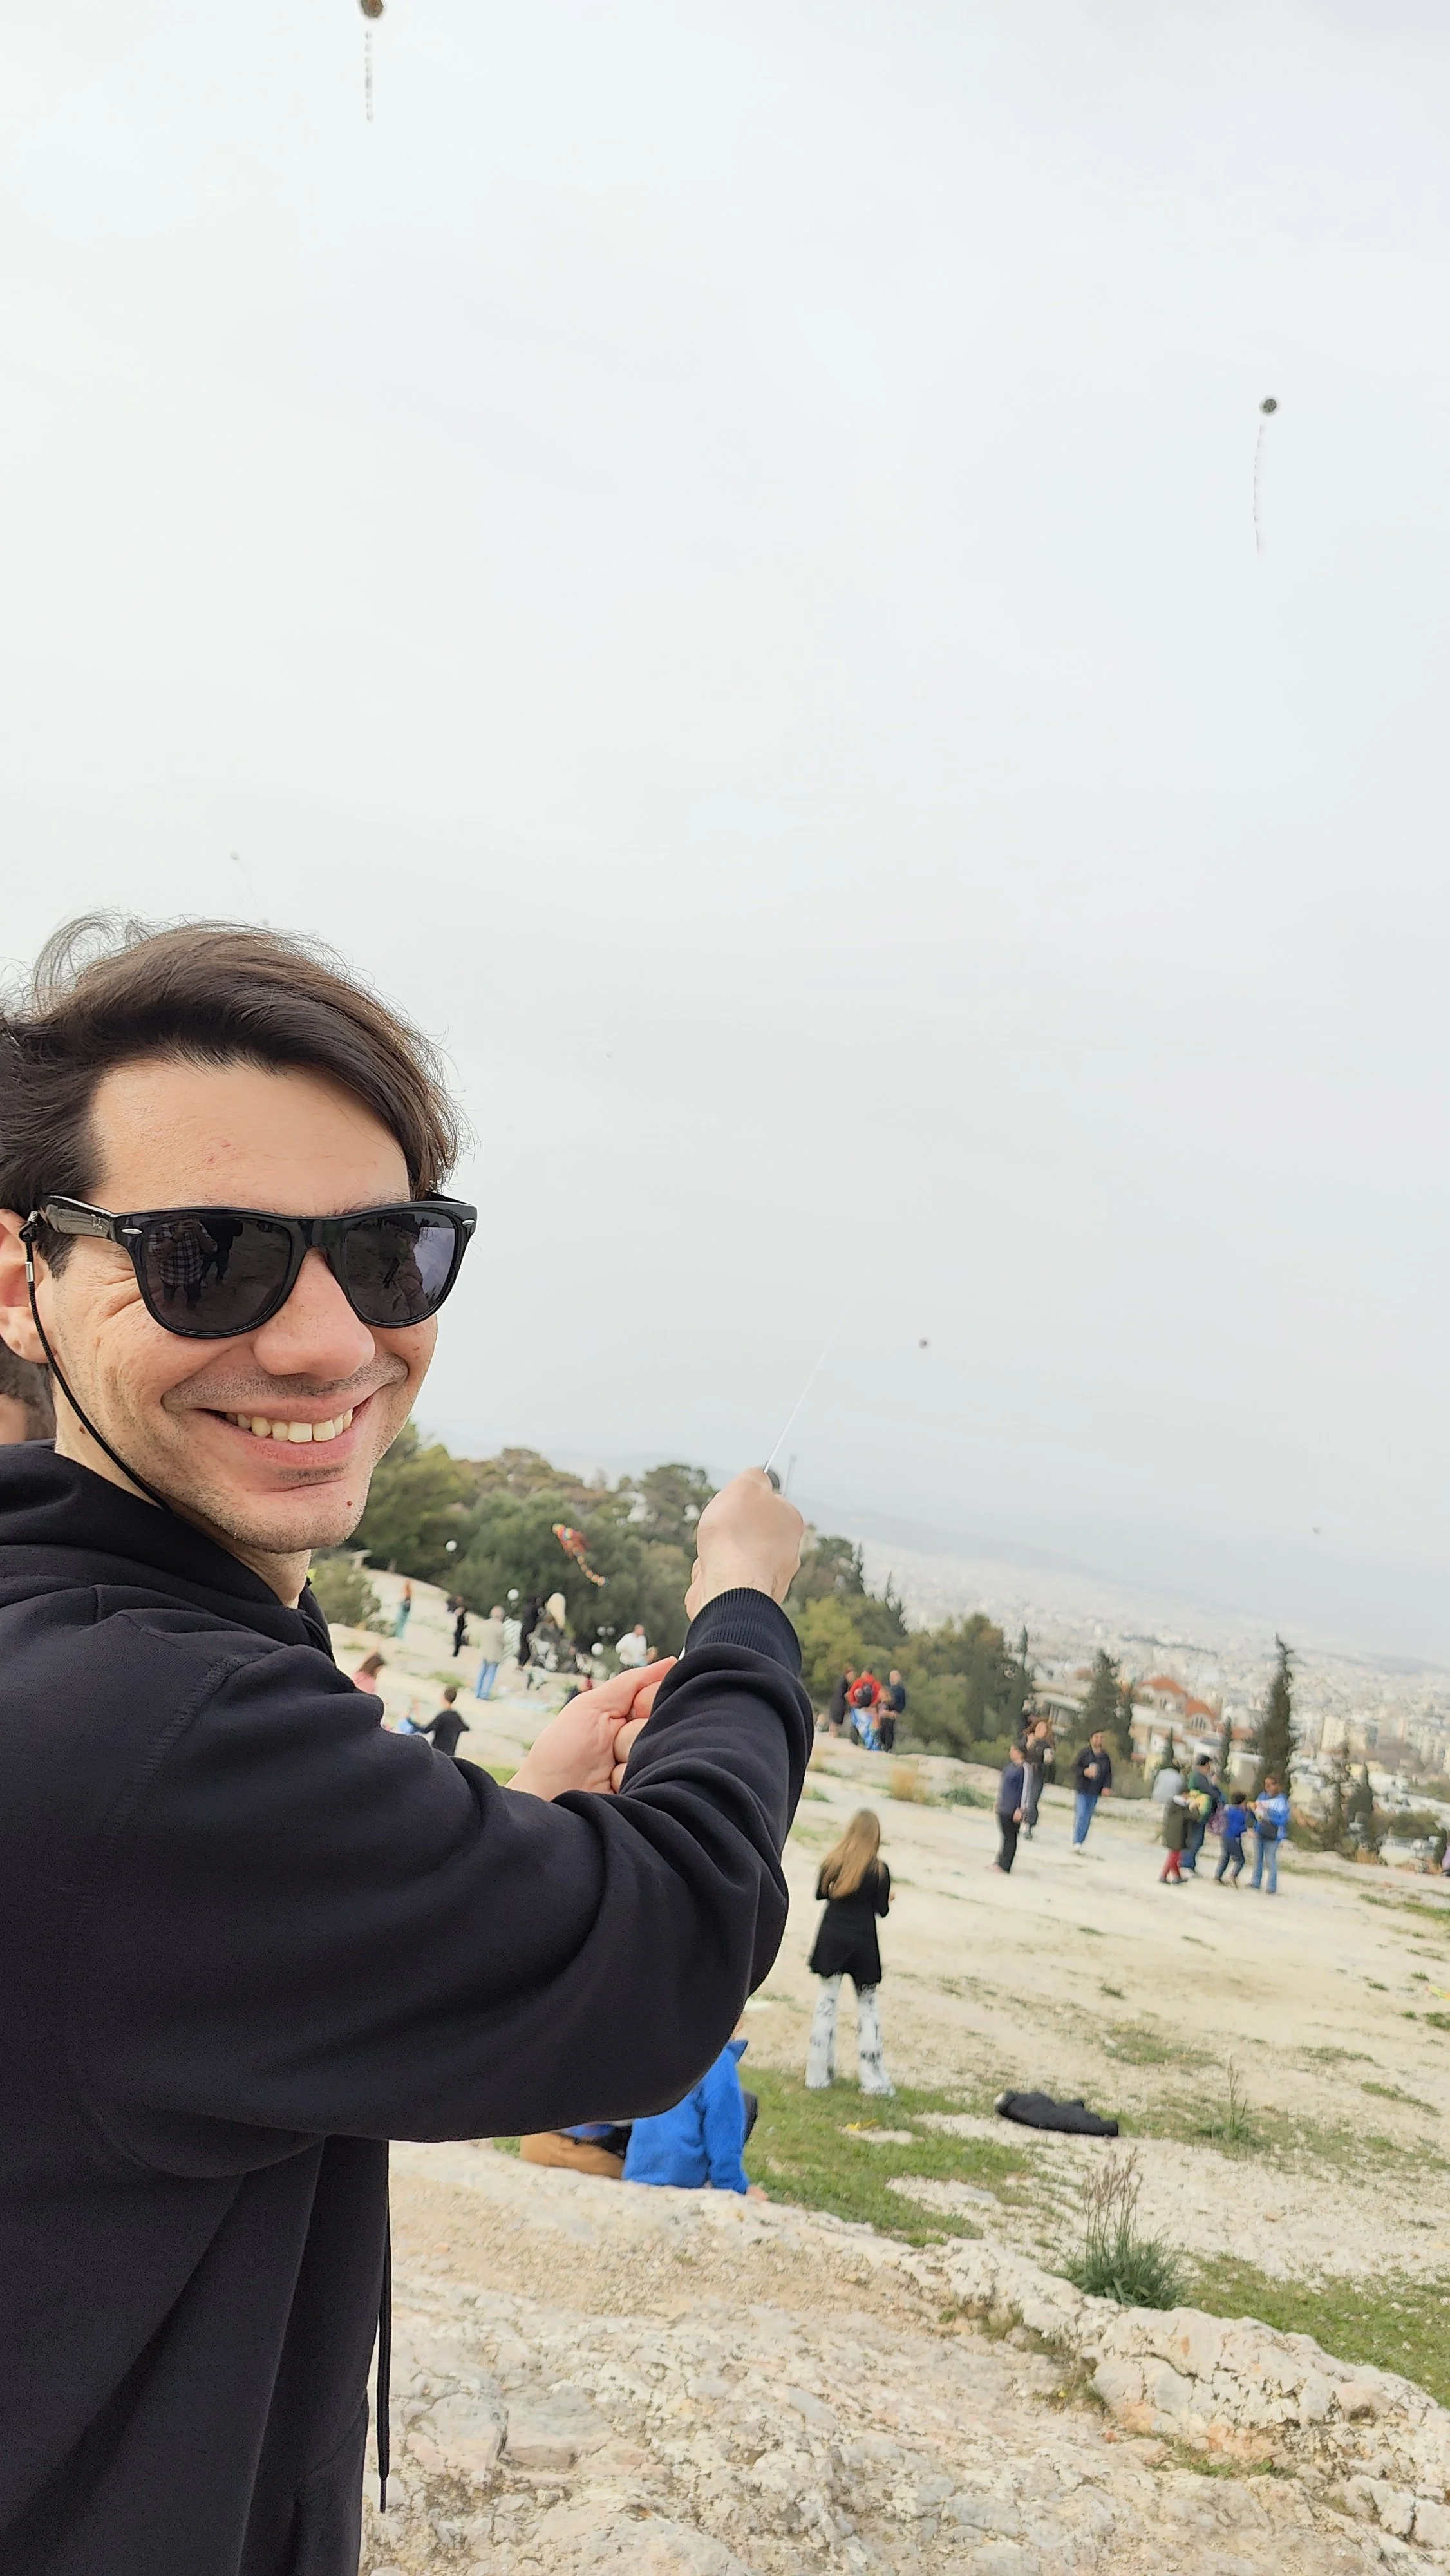
“Every year people [in Greece] fill the skies with kites of different types, decorated with bright colors, imaginative patterns and fancy tails. The kite is connected to Clean Monday [the end of Carnival season] as [...] a symbol for the human soul, which through the process of flying, purifies itself in order to reach Heaven free from its sins. The kite [...] is perceived by many believers as the means of sending their prayers to God. According to tradition, the higher a kite flies, the more probable it is that the prayers can be heard and fulfilled.
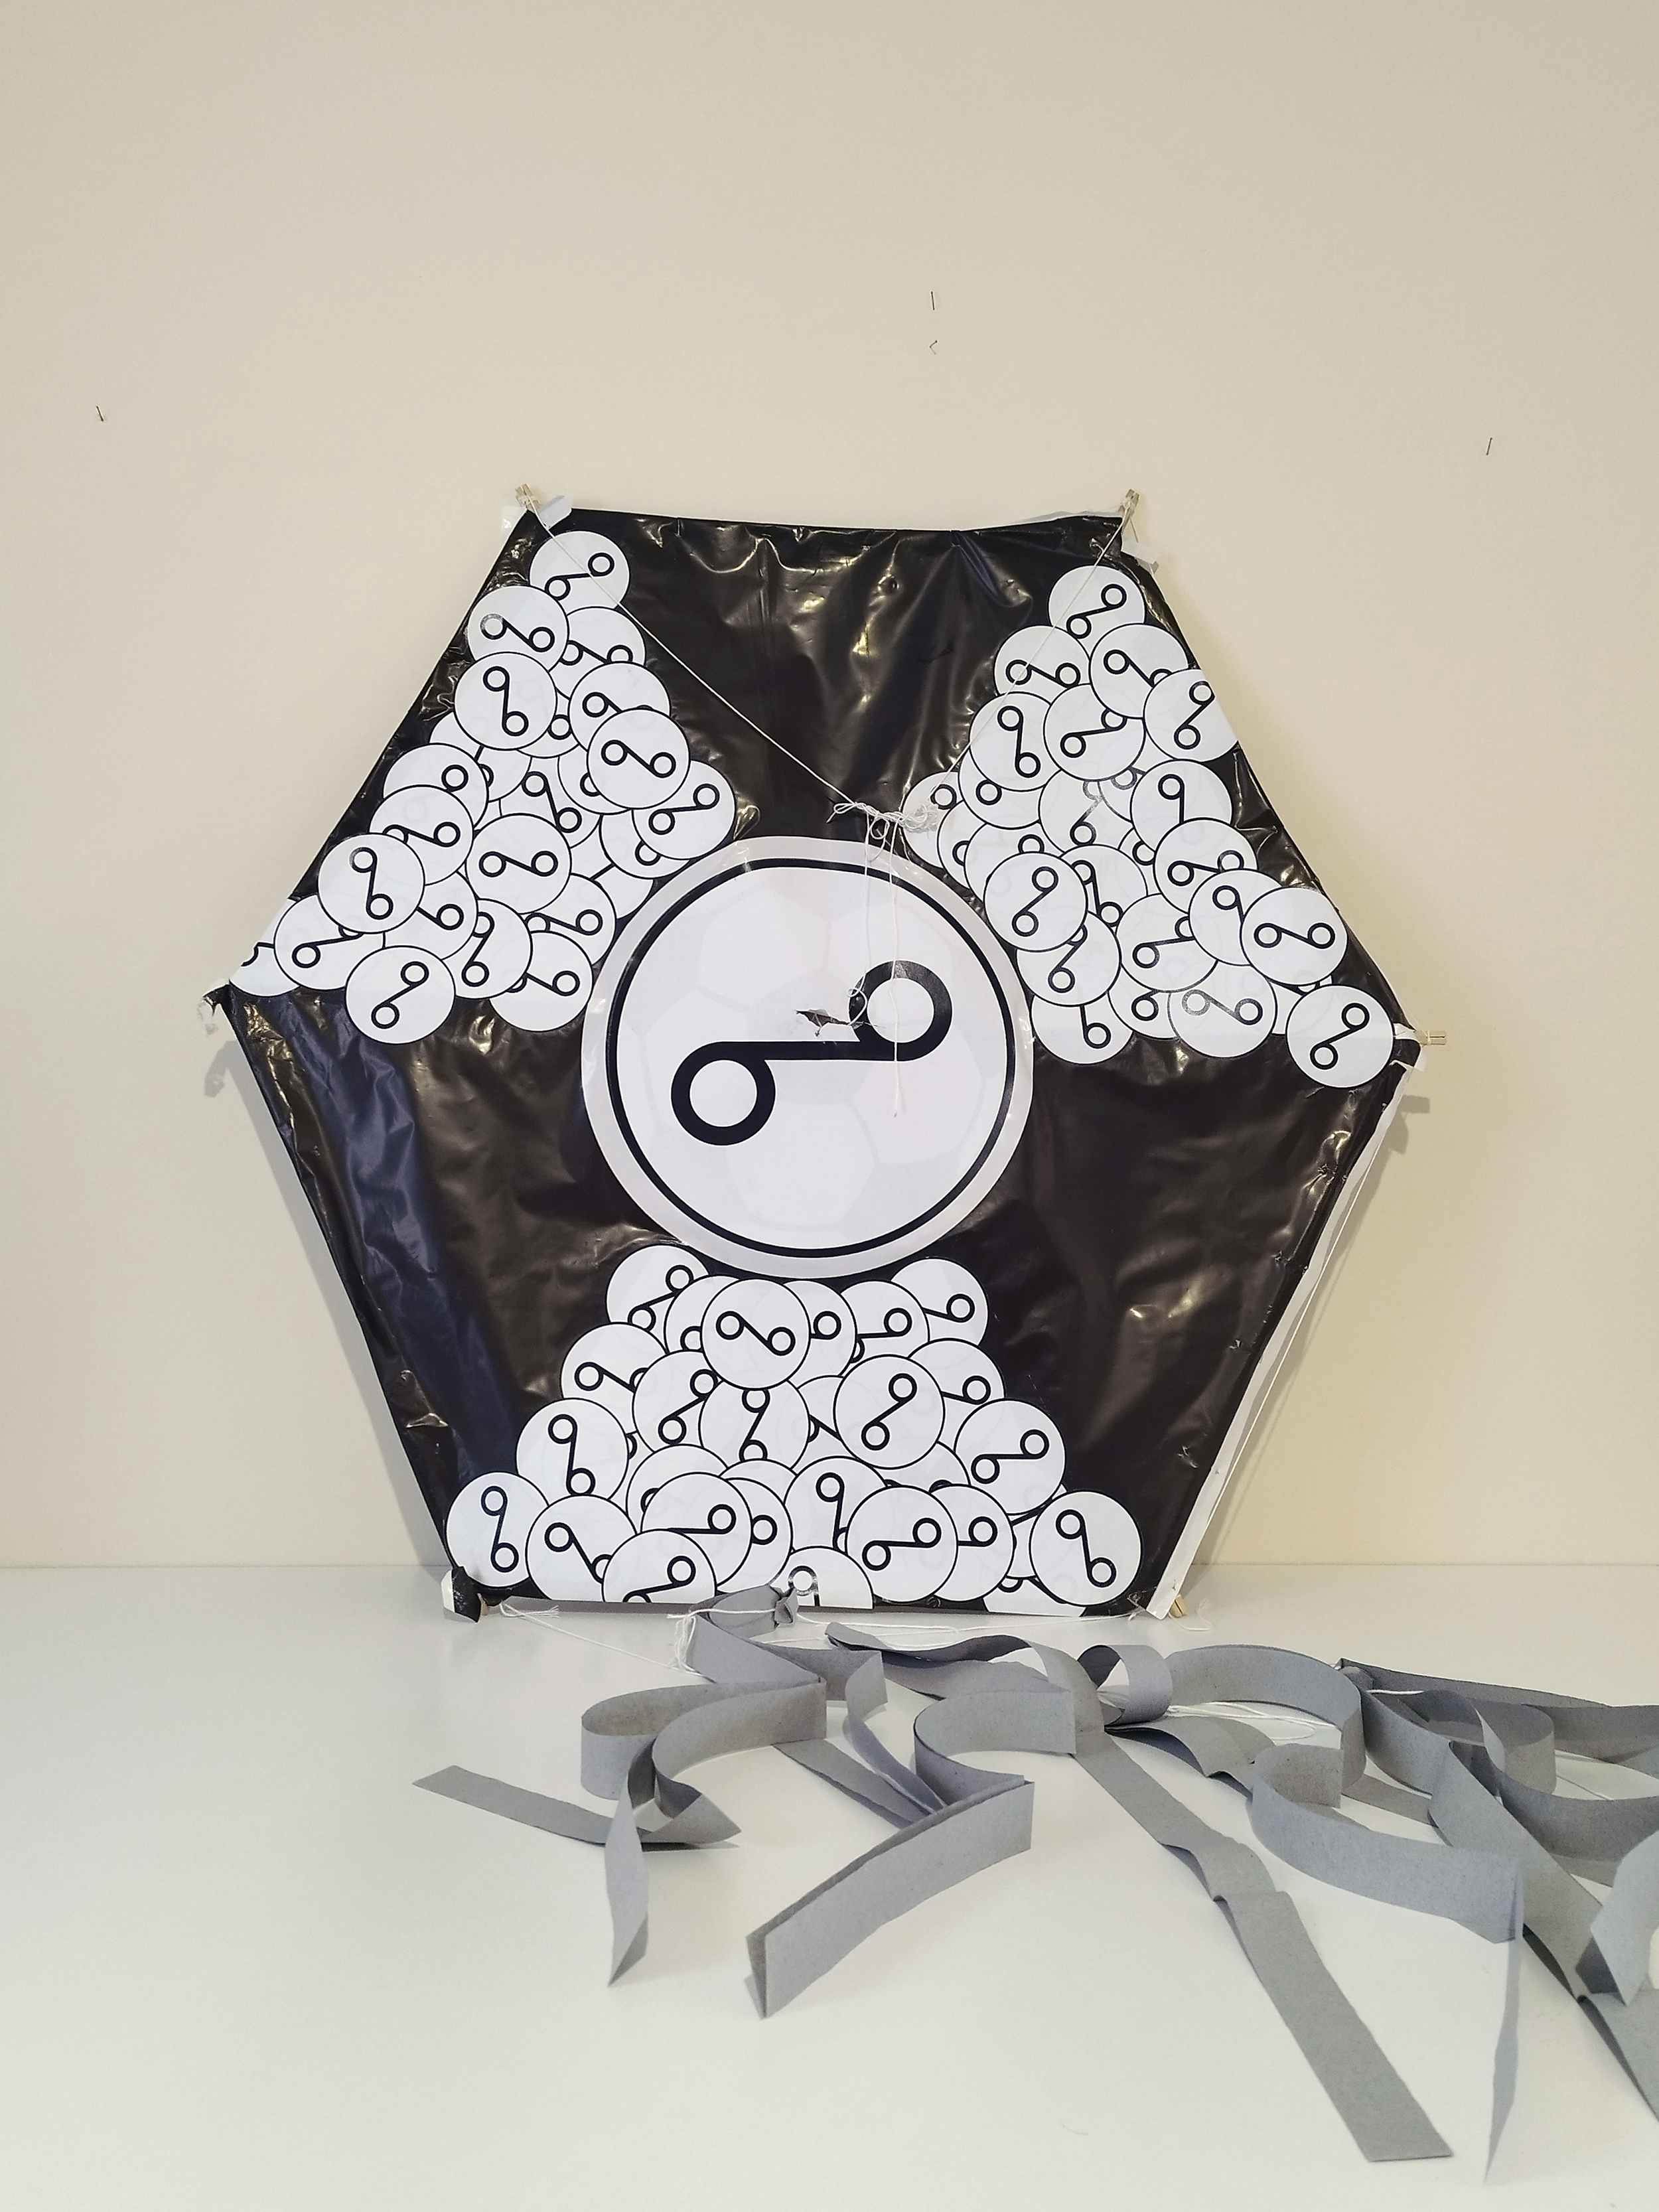
“Drawing inspiration from these beliefs, I have started [...] constructing and flying my own kites on [...] this special day, so as to come [in]to dialogue with Greek folkway through my artistic practice. To build them I follow the traditional technique and tricks of old-school kite makers and I use the classic materials such as light wood, waxed paper, sheets of plastic, water-based glue, stickers and different types of strings. The kites retain the usual aerodynamic hexagon shape and are decorated exclusively with grayscale repetitive patterns which have as their main theme my symbol ₒ-ᵒ.” -Markellos Kolofotias
Supplies and Tools
We recommend adult supervision and/or assistance for this activity. To make your own hexagon kite, here’s what you’ll need:
3 wooden rods or slats of equal length; balsa, bamboo, or other lightweight wood
String
Glue and/or tape
Large sheet of paper or plastic for the kite’s sail
Cloth or ribbons for the kite’s tail
Scissors
(optional) Crayons, markers, paints, or other tools for decoration
(optional) Ruler or measuring stick
“To build them I follow the traditional technique and tricks of old-school kite makers.”
Instructions
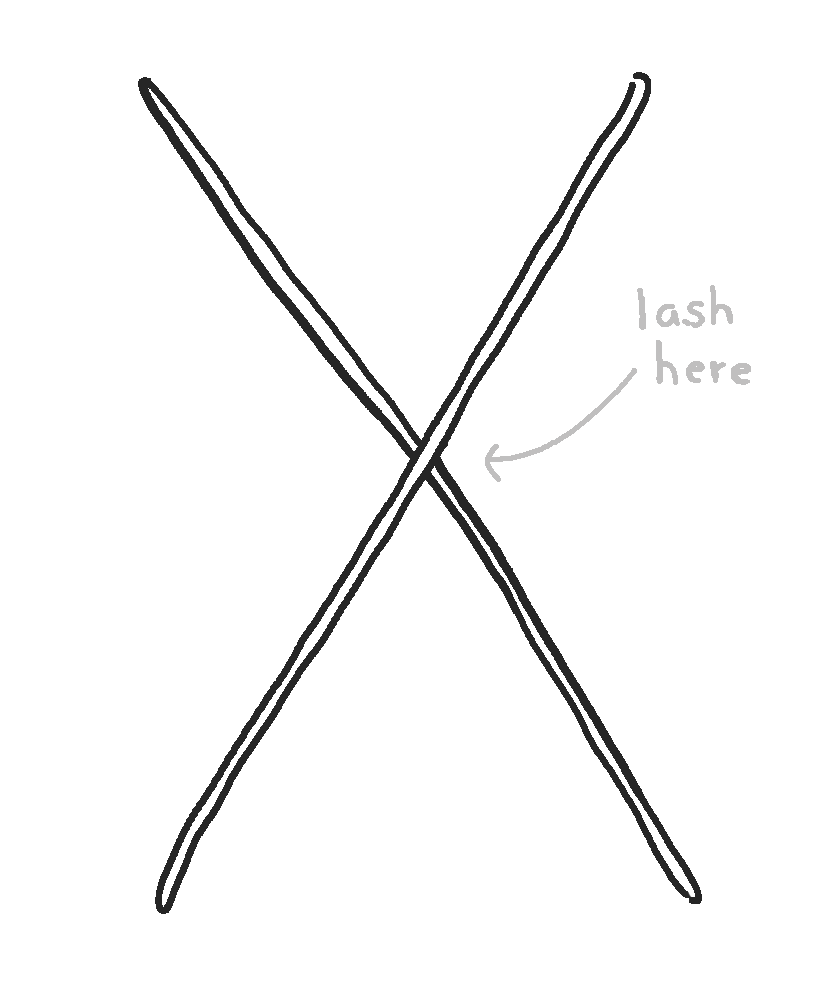
1. Take two pieces of wood and form an X-shape. Use string to lash them together where they cross.
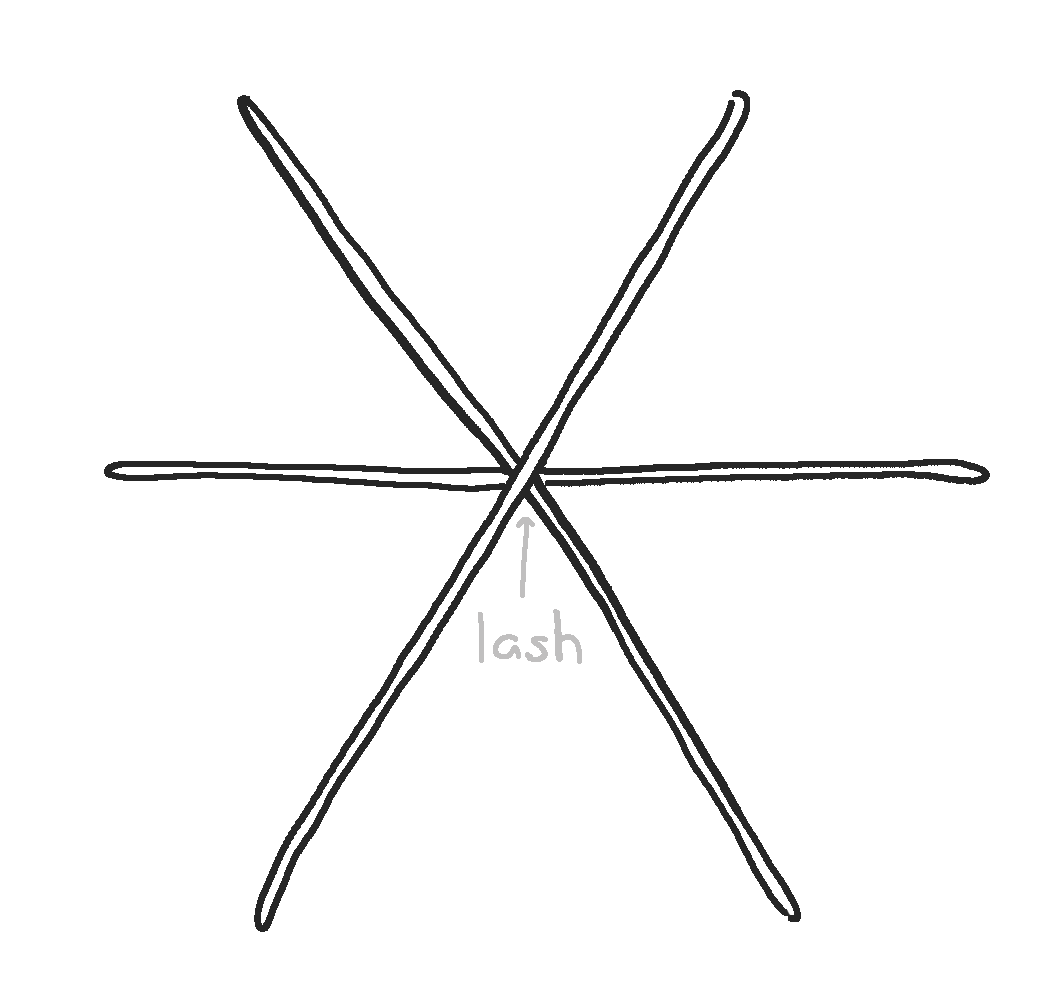
2. Lash the third wooden piece to the midsection of X. Adjust the three pieces so that they are equally spaced and knot the string. You can add a little glue to further secure the frame’s intersection.
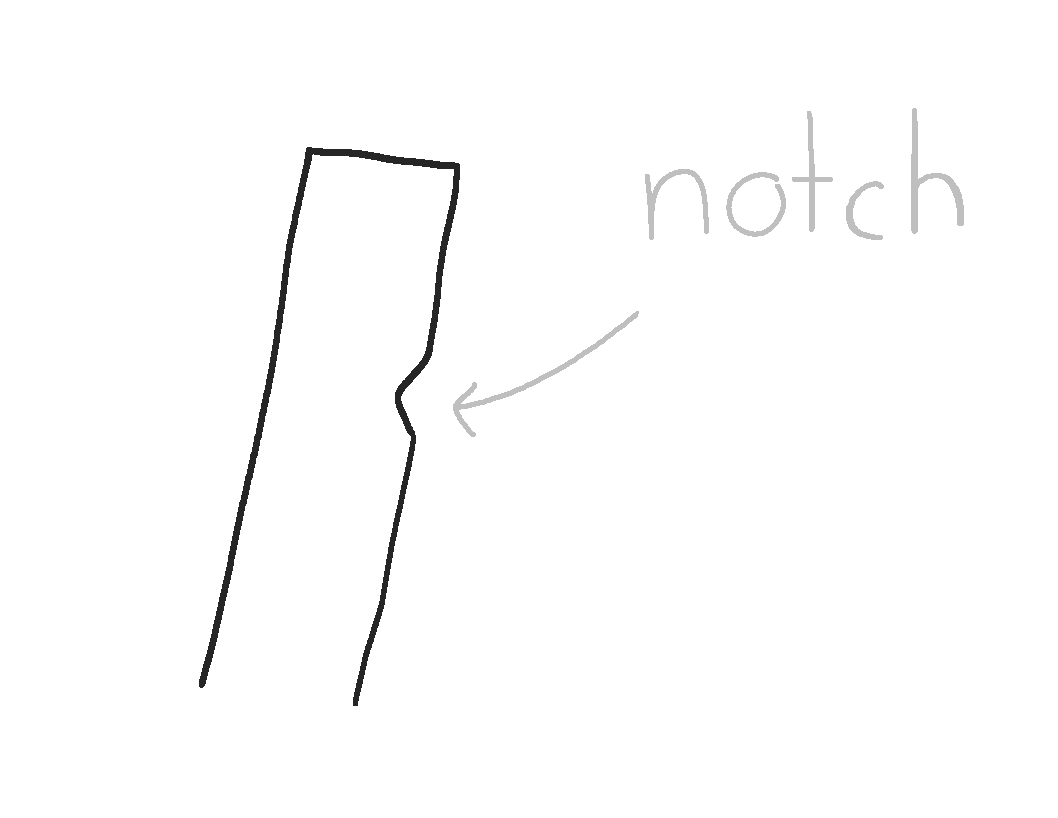
3. About 1-2 centimeters (0.25 – 0.5 inches) from each end of the wooden piece, carefully use the scissors to cut a notch for the string.
4. Wrap one end of the string around the wood once or twice and tie it off, using the notch to keep the string from sliding. Move clockwise to the next wooden arm, looping the string there using its notch. Continue looping the string around each wooden arm until you return to the starting point. Secure the string and adjust the frame until it is evenly taut all around. Add glue to the knot, if desired.
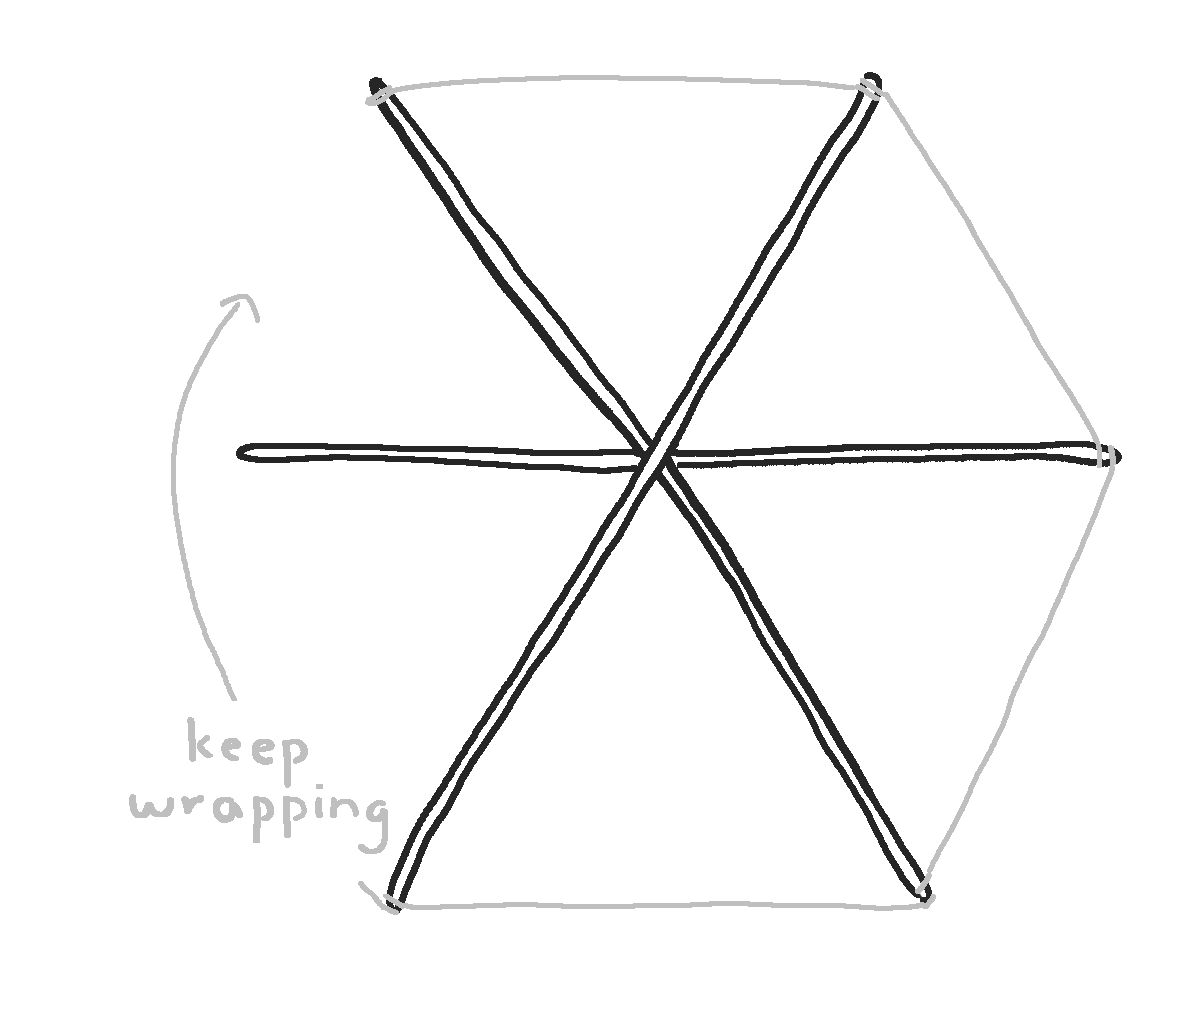
5. Lay the kite frame out on the sail sheet. Using scissors, cut the sail material into a hexagon about 5 centimeters (2 inches) wider than the kite frame. This will give you some extra material if you need it when attaching the sail.
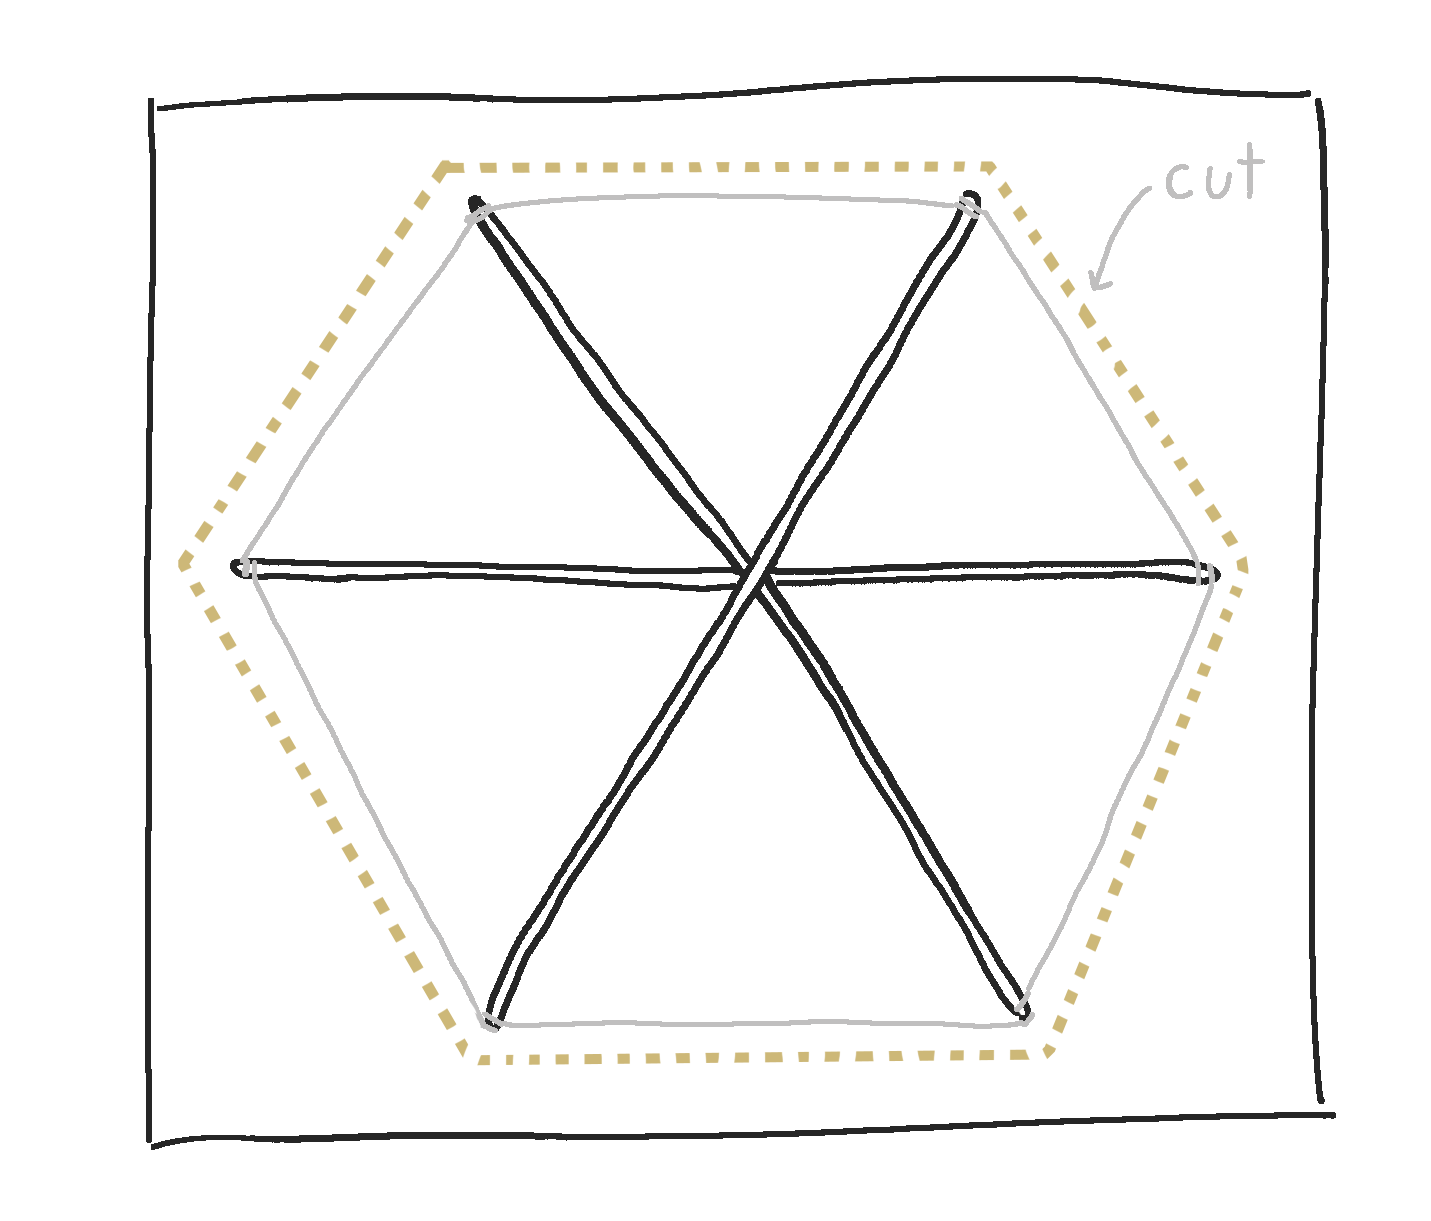
6. Now’s your chance to make this kite uniquely yours! Think about a symbol or design that is meaningful to you—a favorite animal, an inspiring shape, or even a personal image that reflects who you are. Use crayons, markers, or paints to bring it to life on the sail. As you decorate, ask yourself: If you could create a symbol that represents your life, what would it look like?
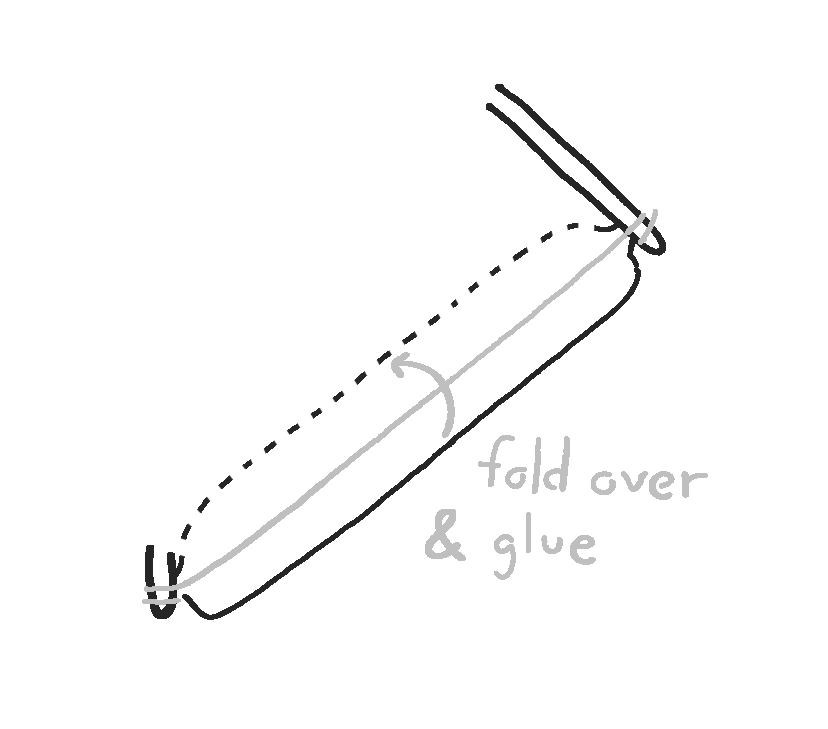
7. Spread the sail right side down and place the frame on top of it. Working section-by-section, fold the edge of the sail over the frame’s string and glue or tape it down. You may need to use the scissors to trim excess material, especially around the wooden arms. Continue until the sail fits tightly to the frame and is fastened around all 6 edges.
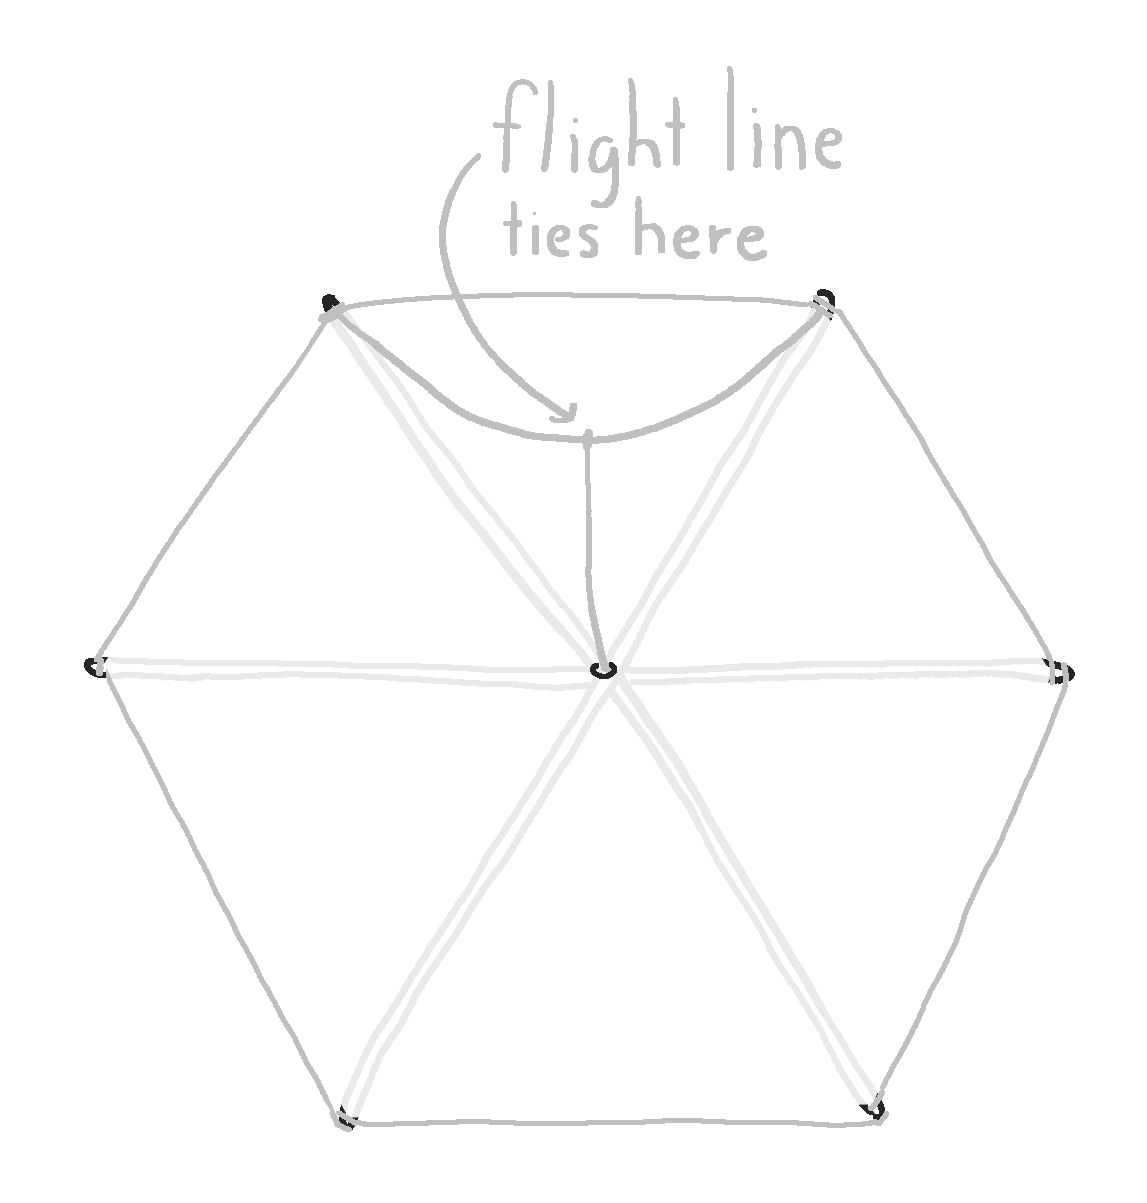
8. Cut a piece of string roughly 1.5 times longer than the length of the kite’s edges. Secure the ends of the string to the wooden arms on either side of the top of the kite. This will be part of the flight line.
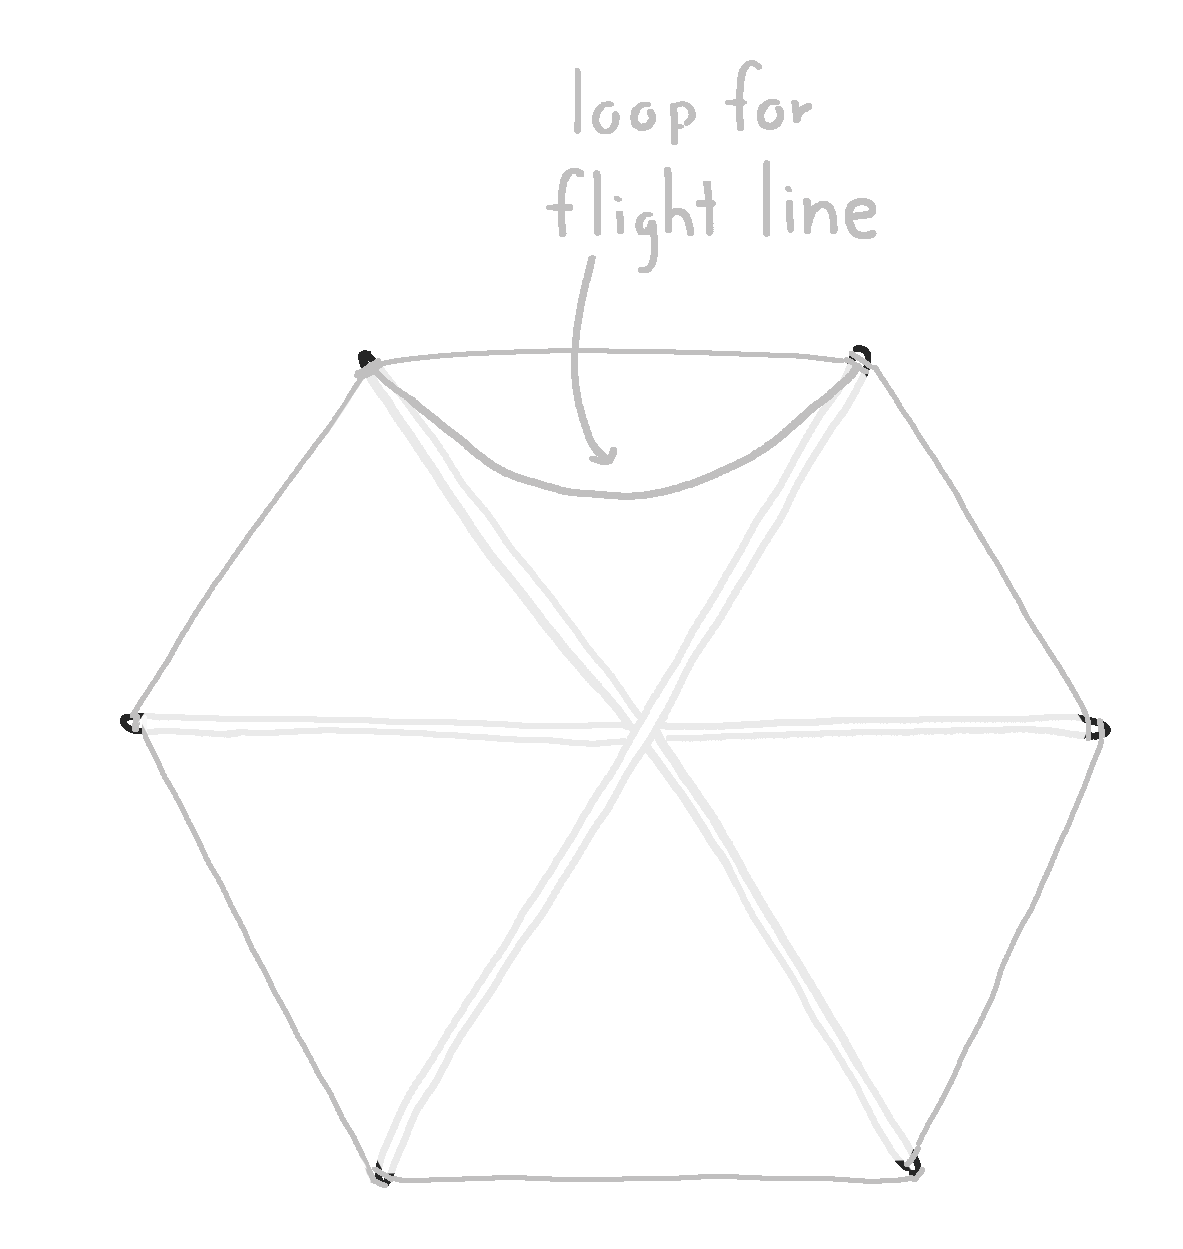
9. Poke a small hole through the center of the sail. Tie string around the frame’s central intersection and pass it through the hole. Run this center string to the curved line made in Step 8. Tie the center string securely to the midpoint of the curved line. Attach your flight line here.
10. Repeat Step 8 but attach the string to the bottom of the kite frame. This line will be for mounting the kite’s tail.
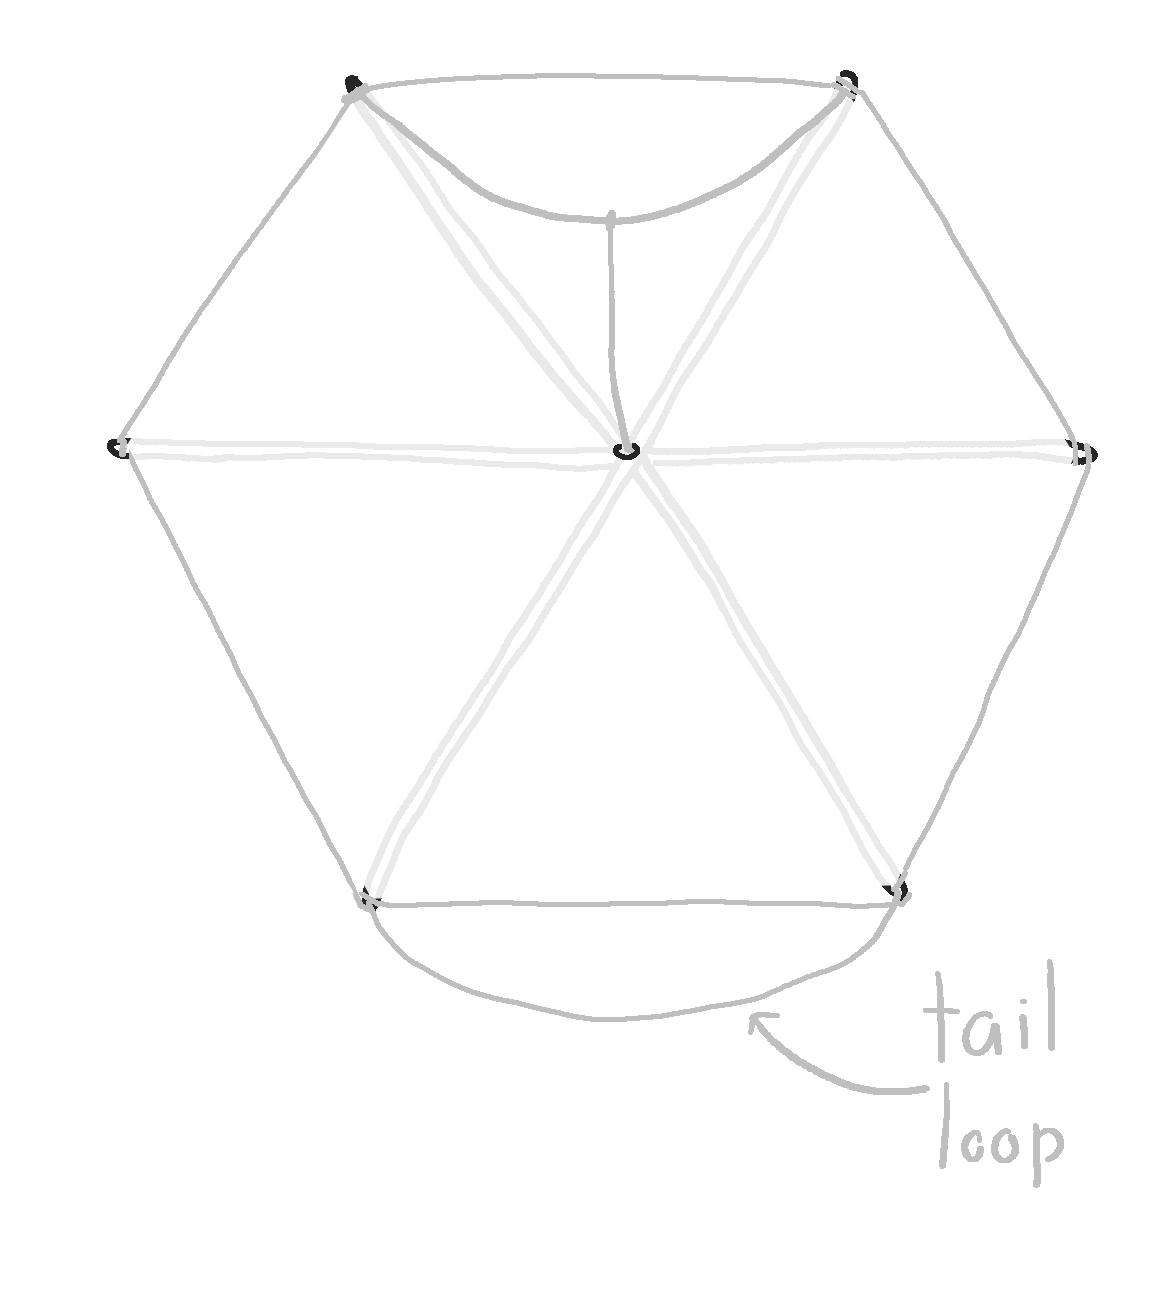
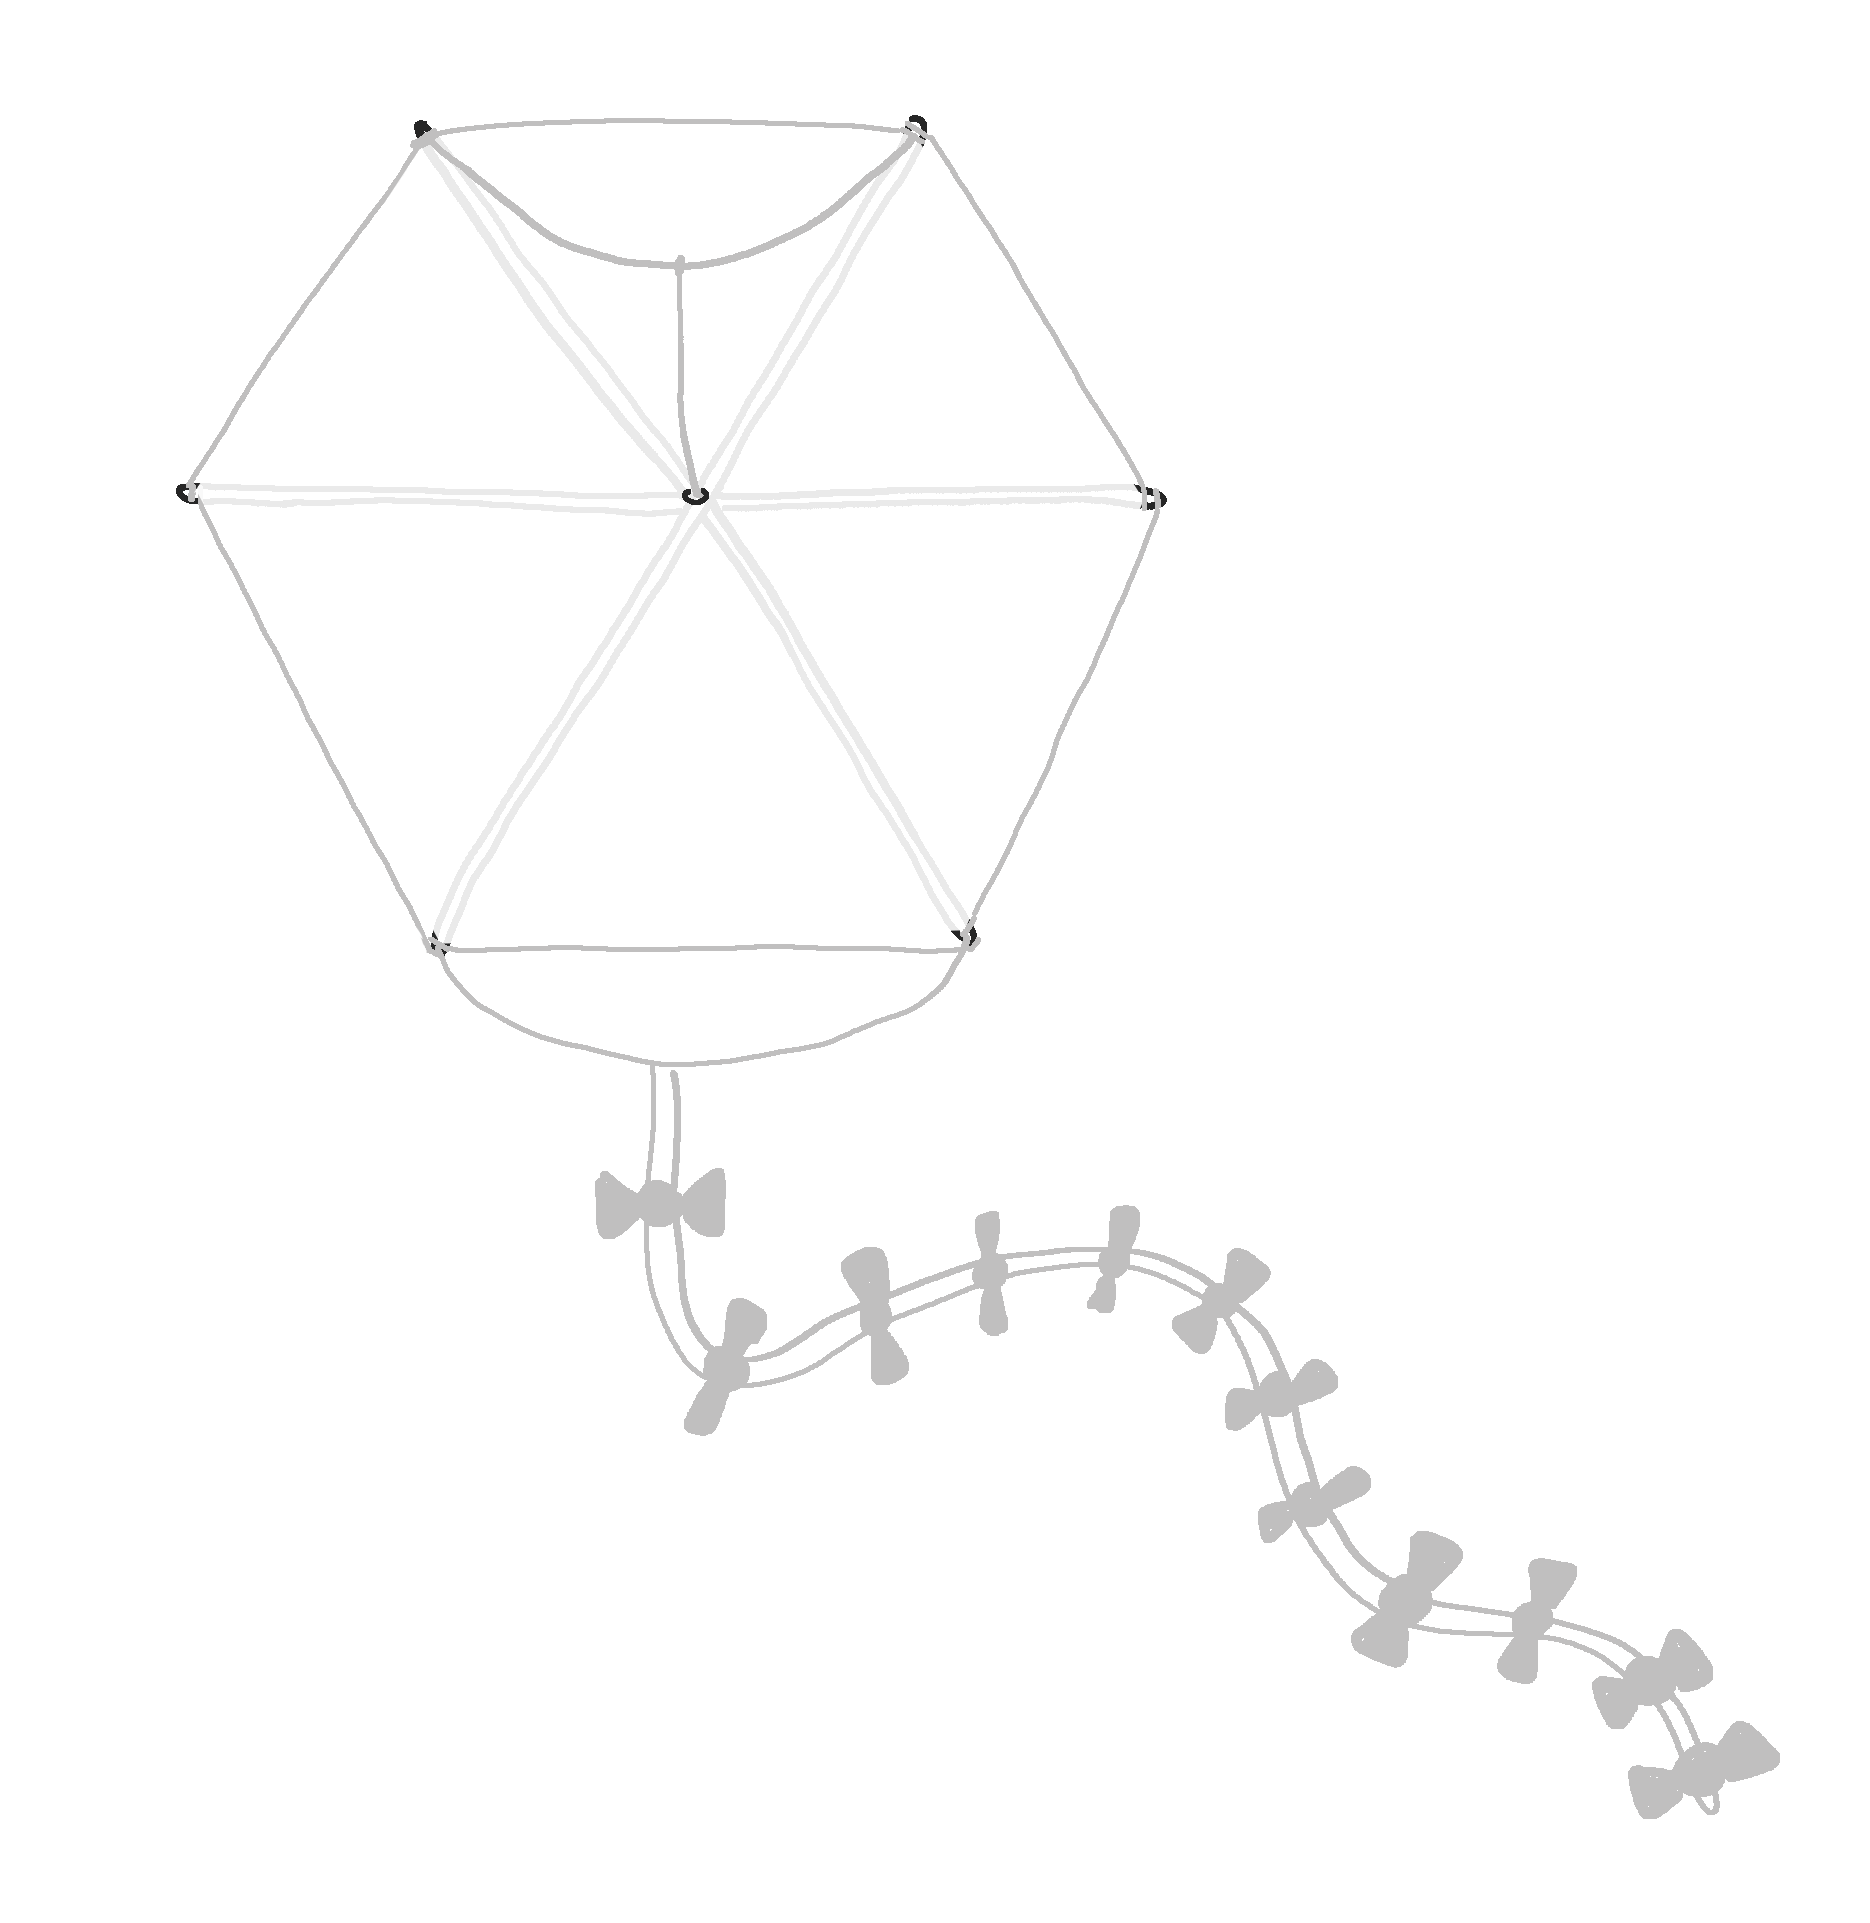
11. Make a long tail for the kite. This can be a single length of cloth or ribbon, or one with smaller ribbons/cloth tied along it. Attach the tail to the line made in Step 10.
12. Get a friend and go fly!
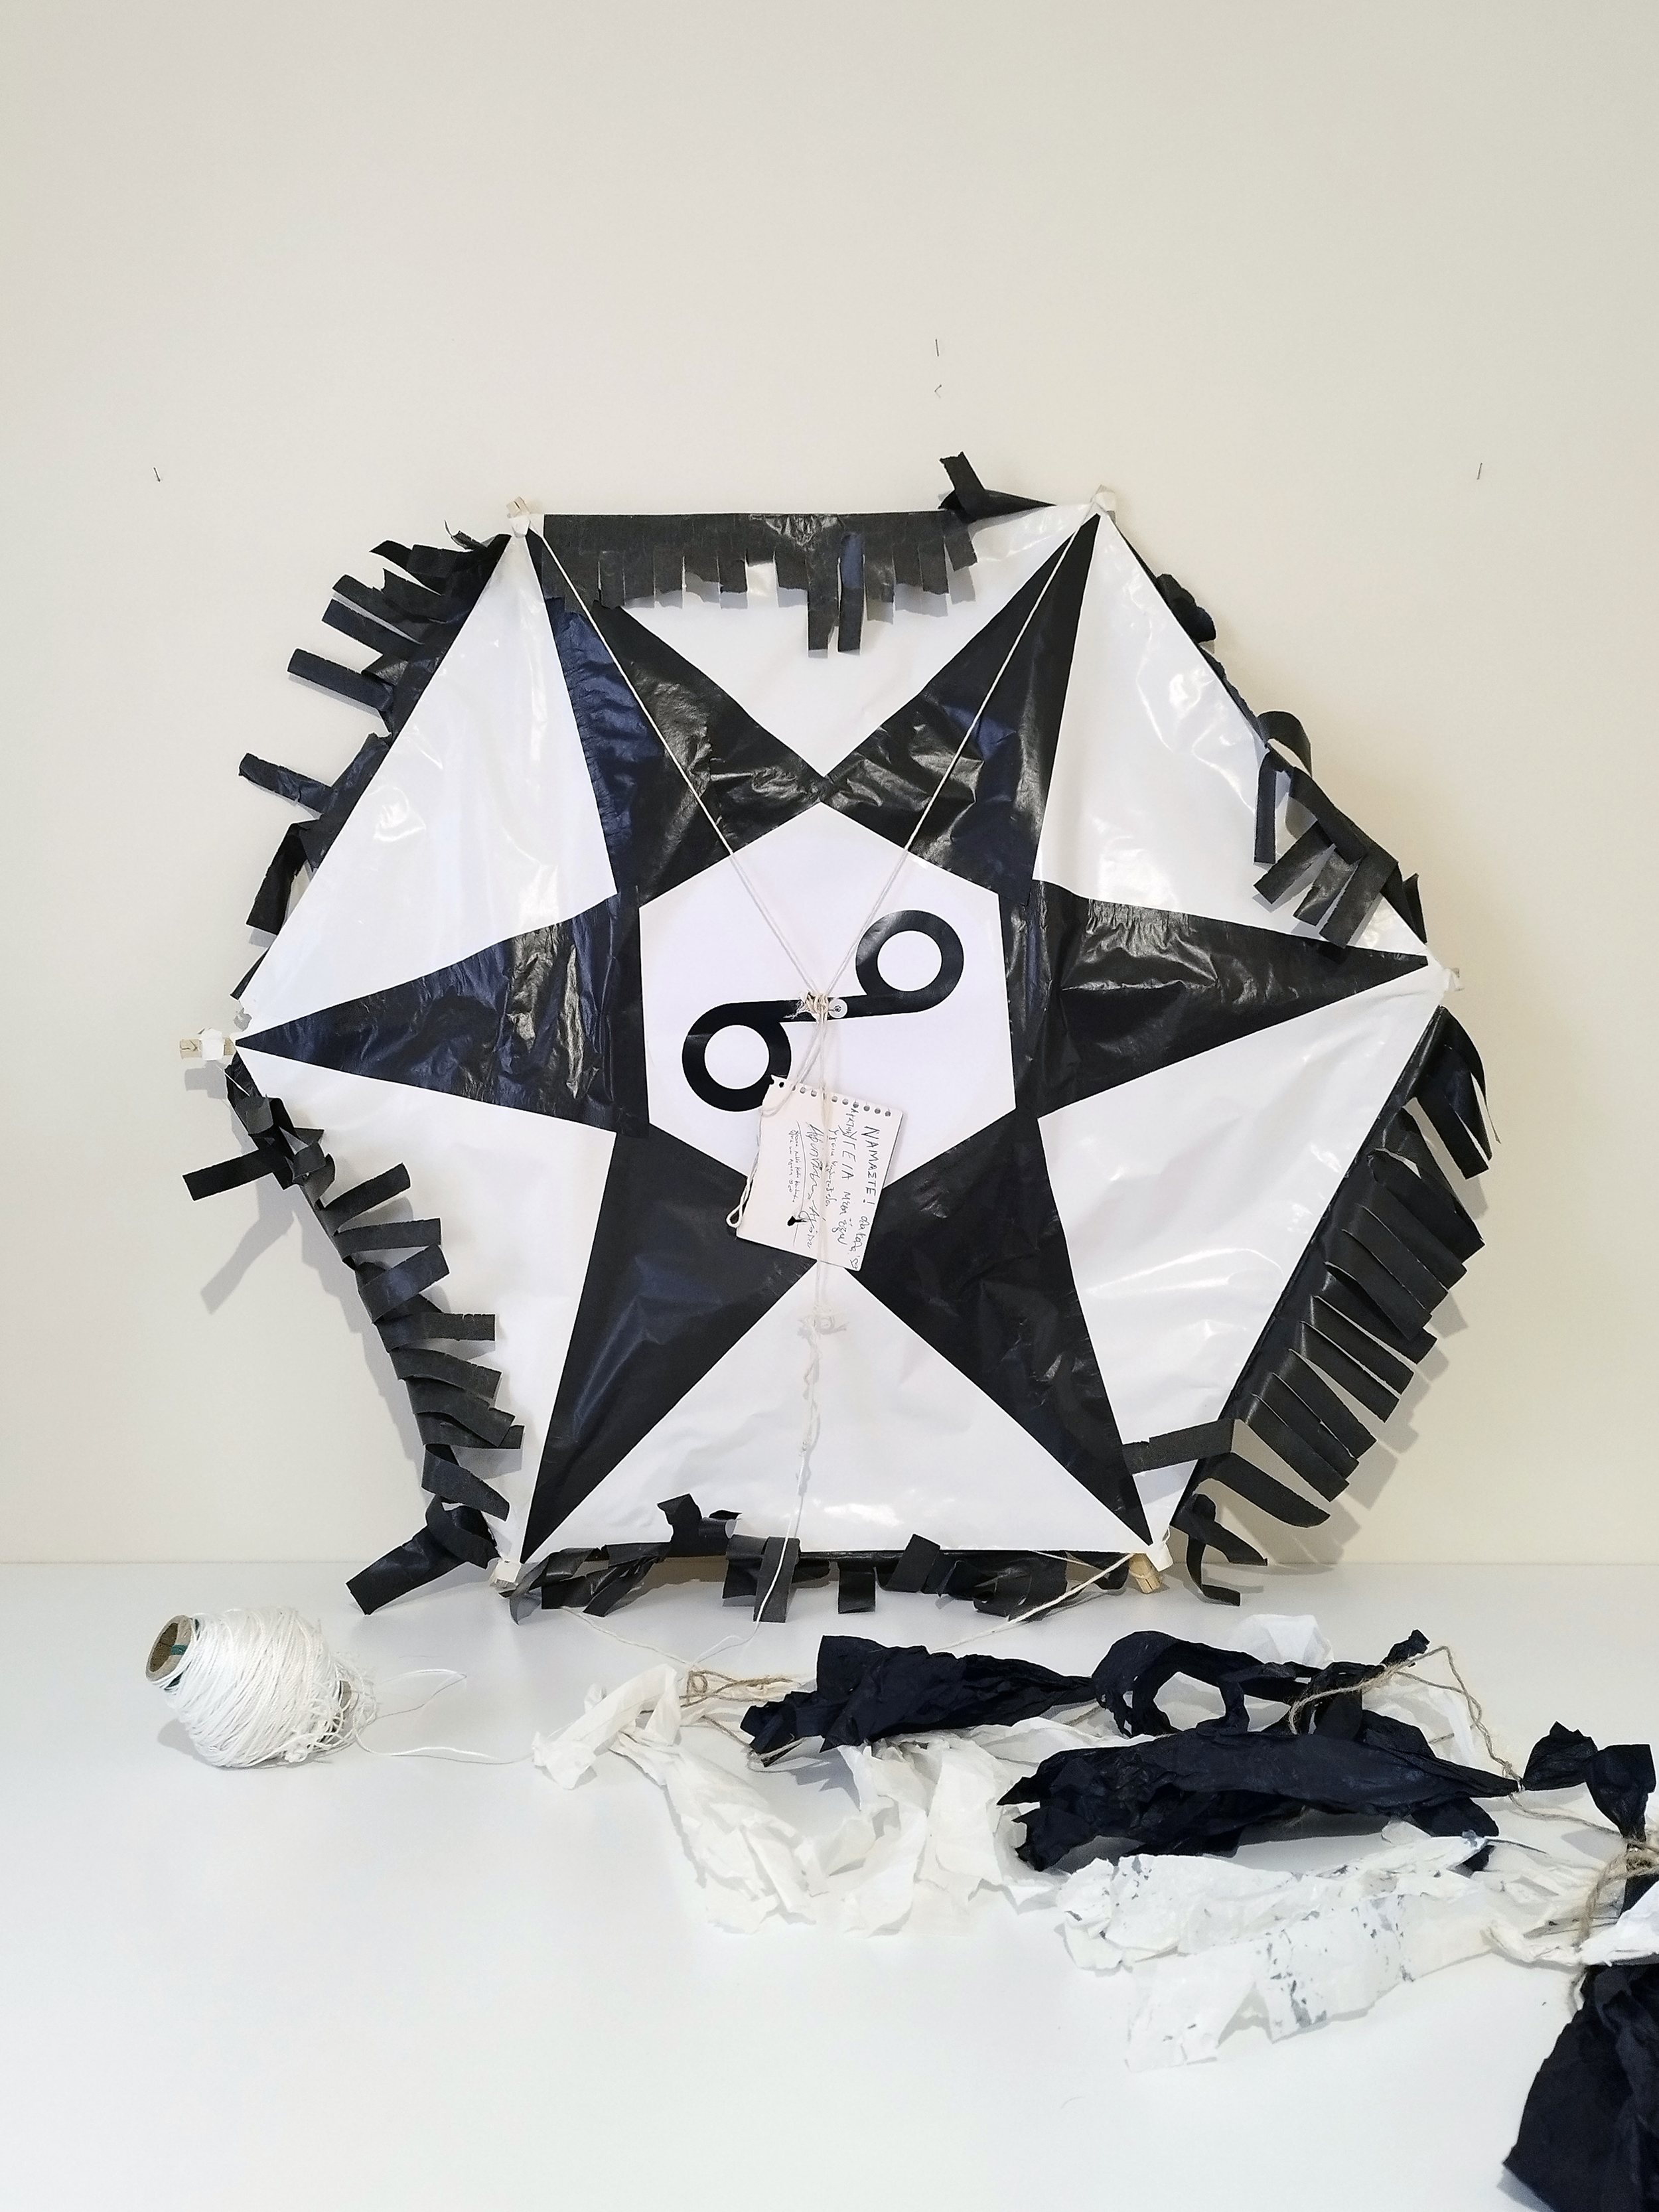
Photos courtesy of Markellos Kolofotias. Illustrations by Nicole Sharp.